Friday 4 October 2013

Tax disc and number plates - Ready for the road!!!

So after what seemed like forever waiting for the DVLA, I finally got my tax disc and registration number today.  As soon as I got home I was straight out again to Halfords to get some number plates made up.

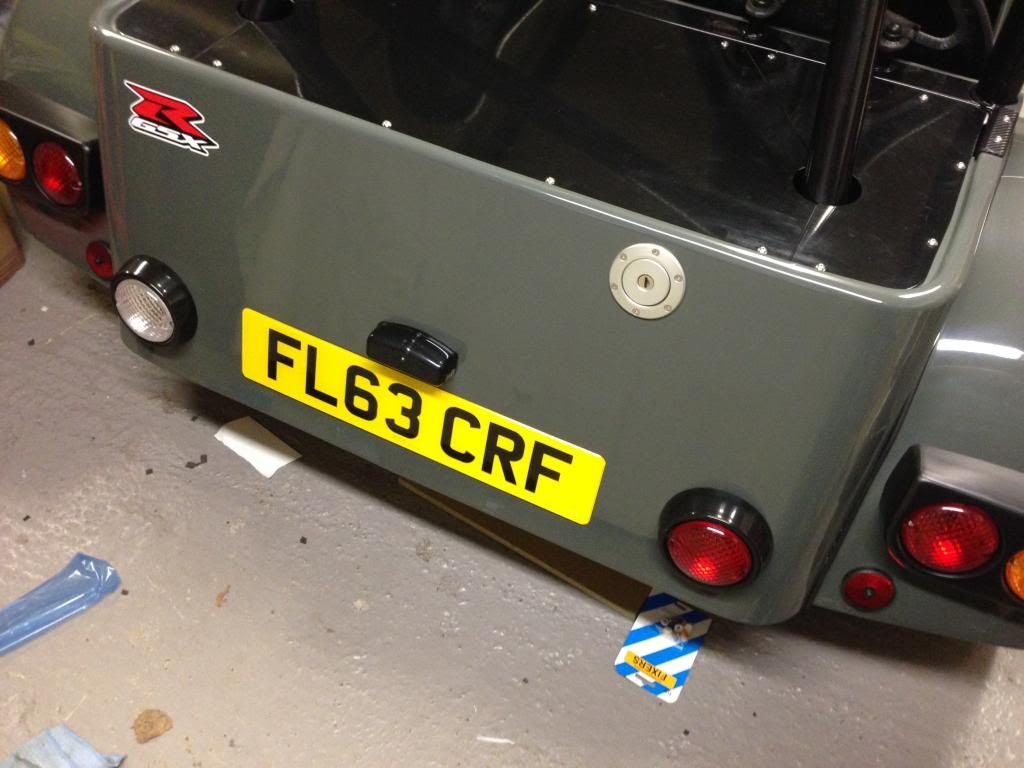
DVLA have issued me a brand new 63 reg which is what I was after so I'm pretty pleased with that.

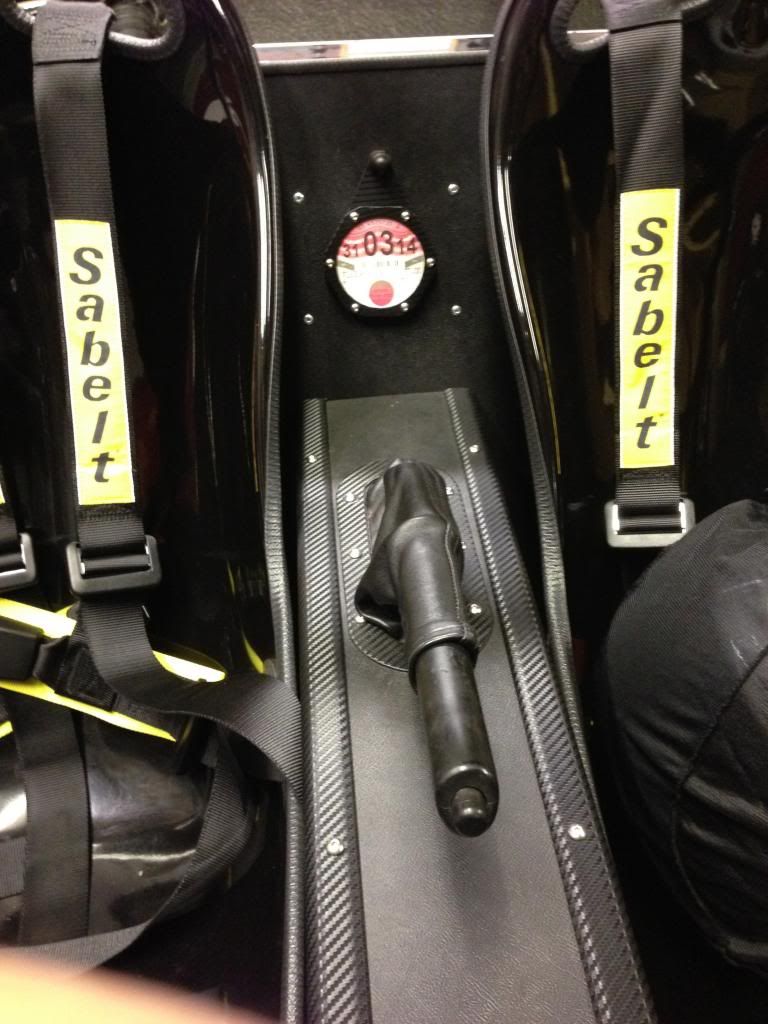
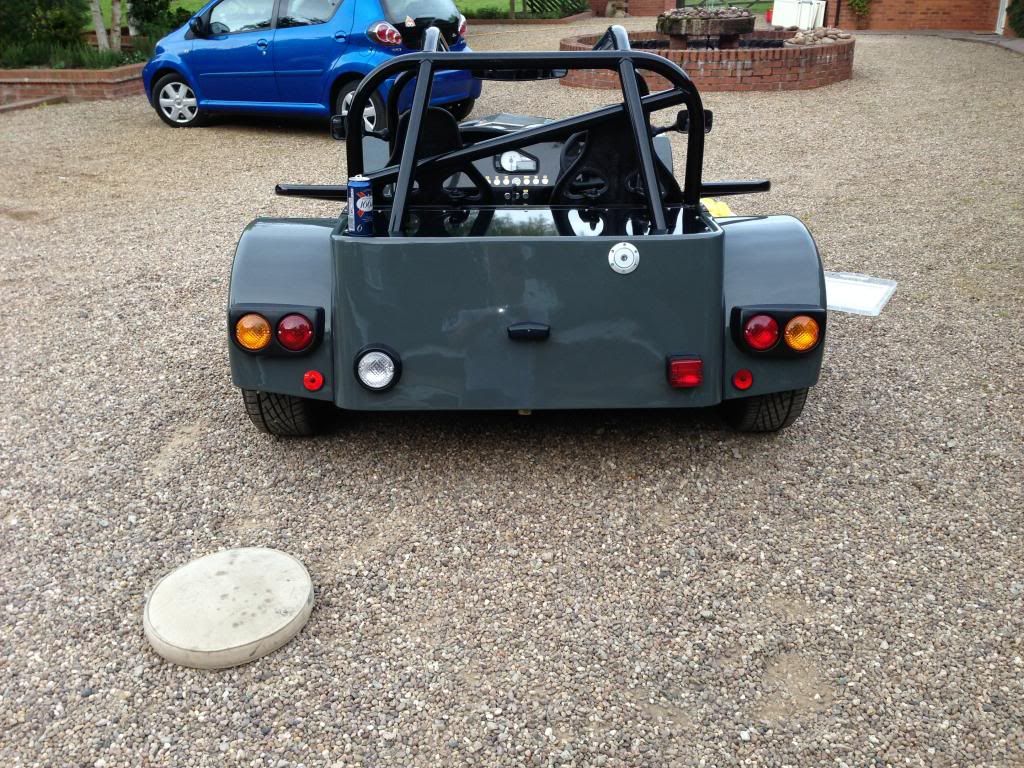
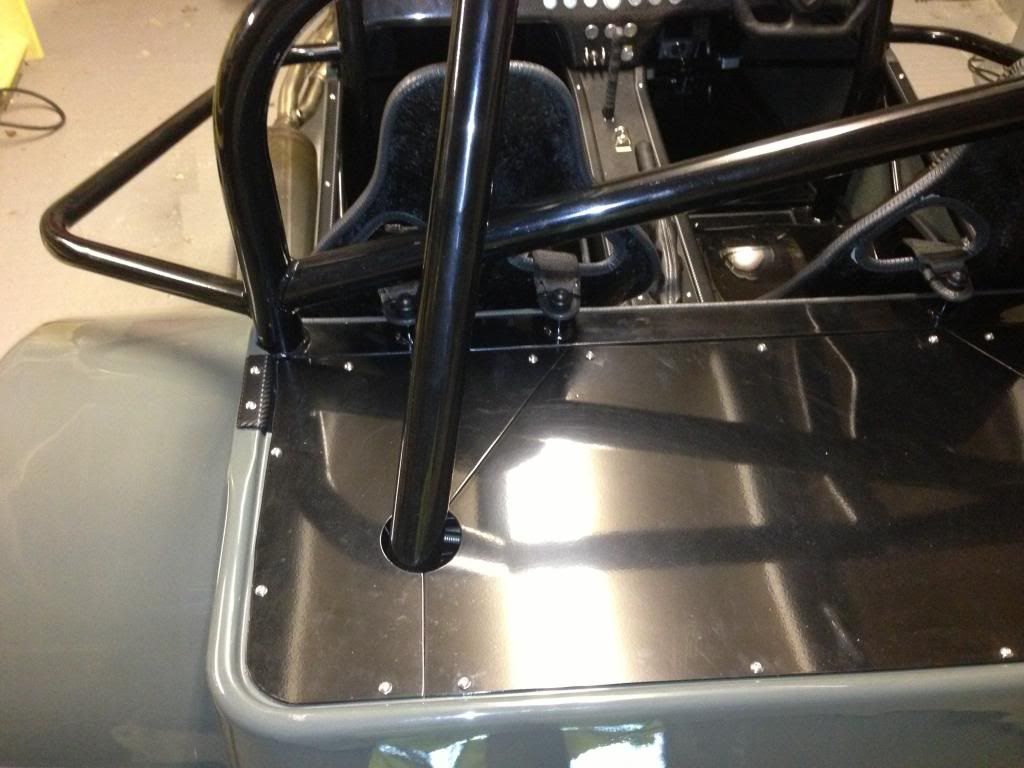
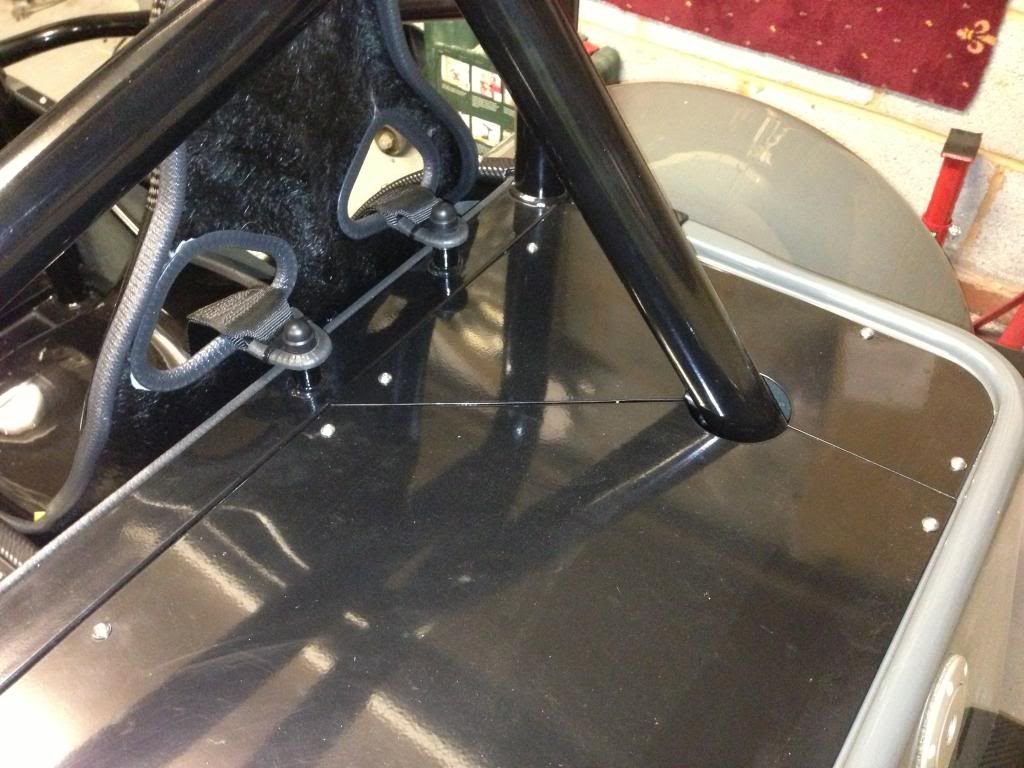
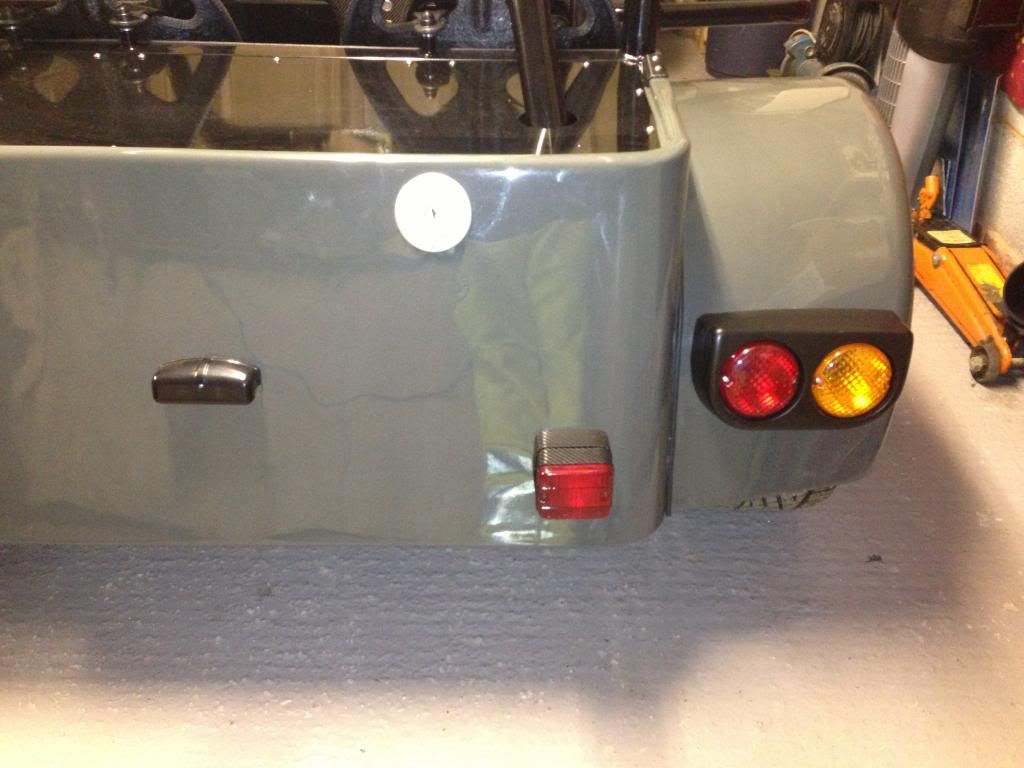
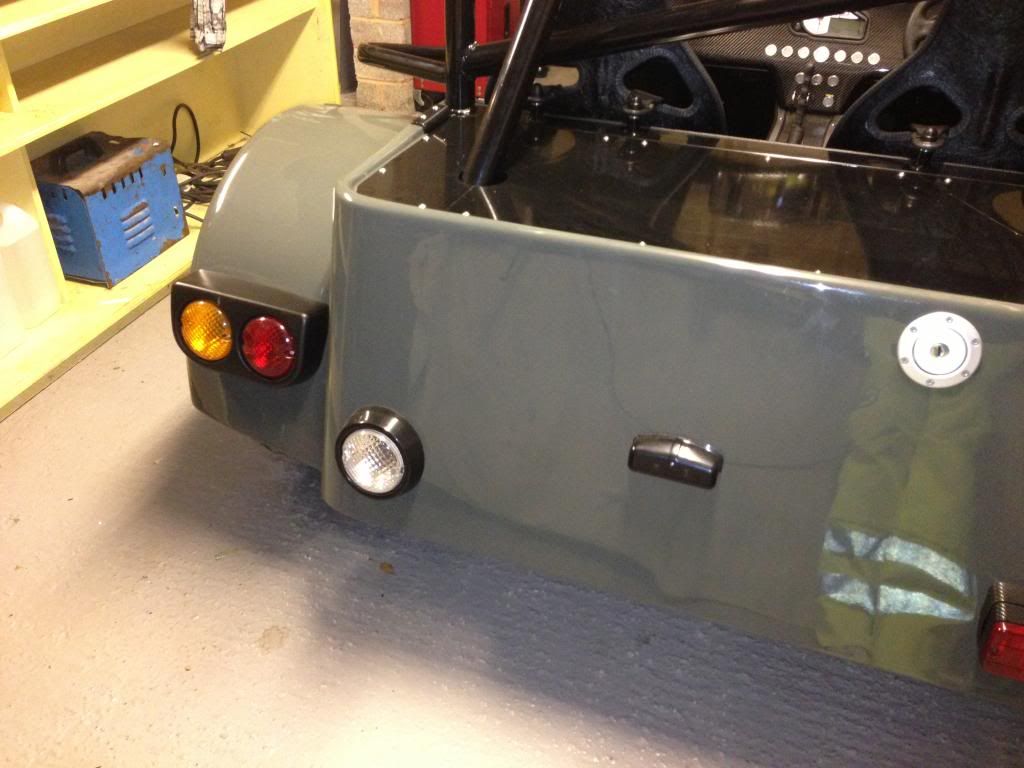
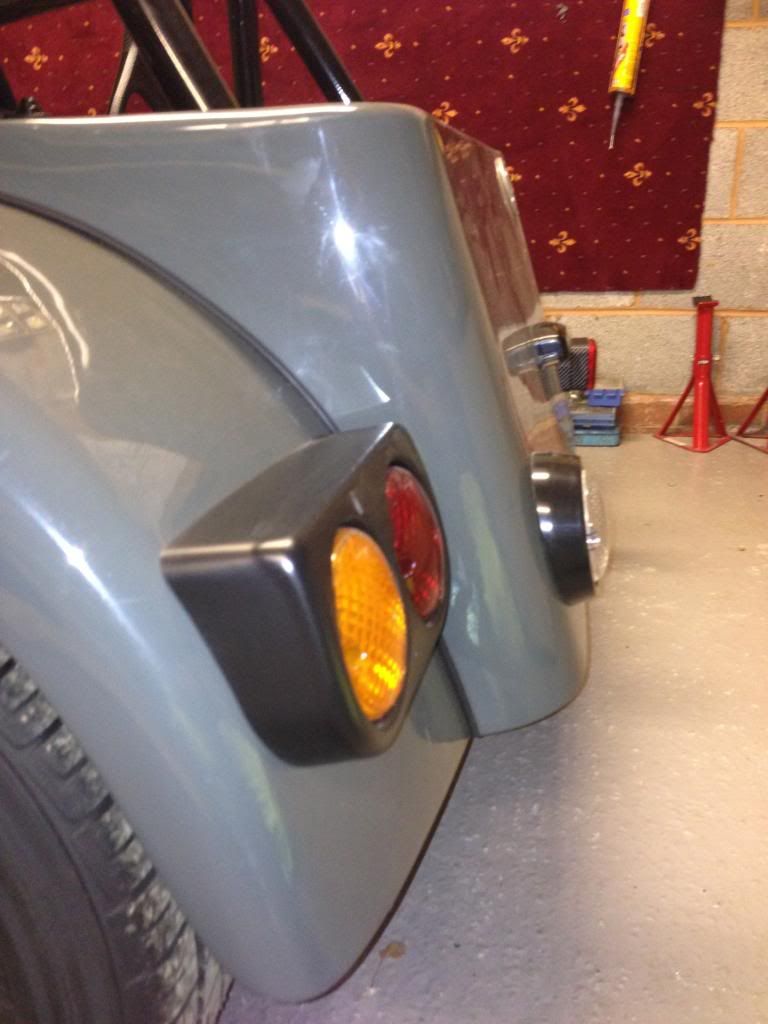
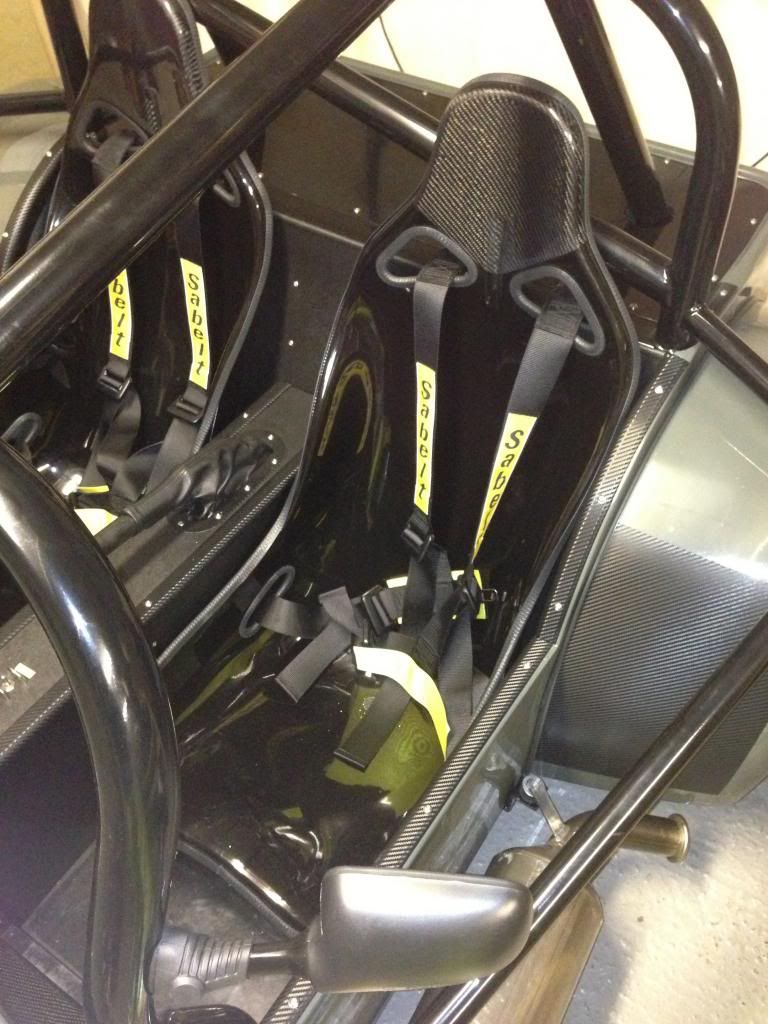
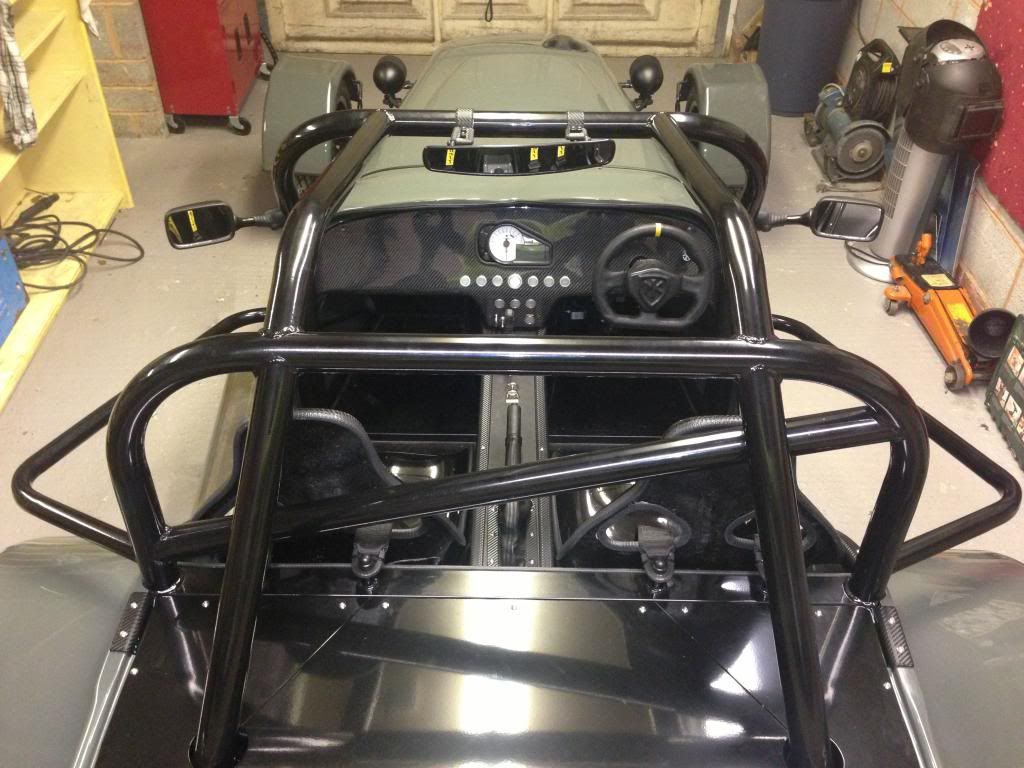
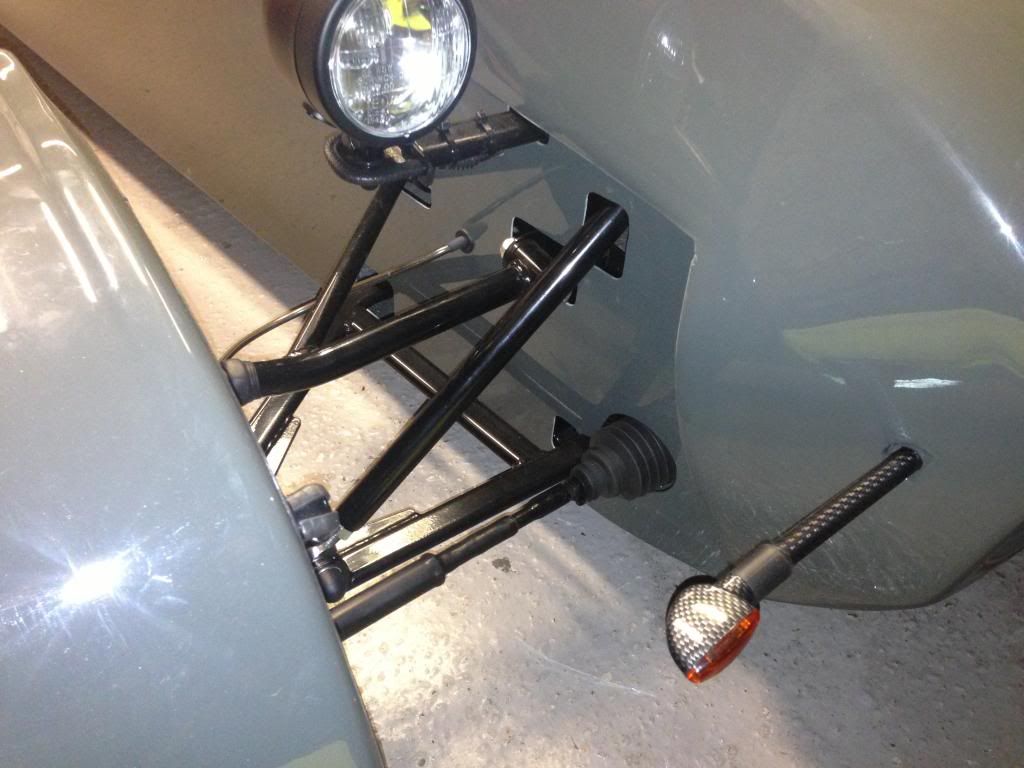
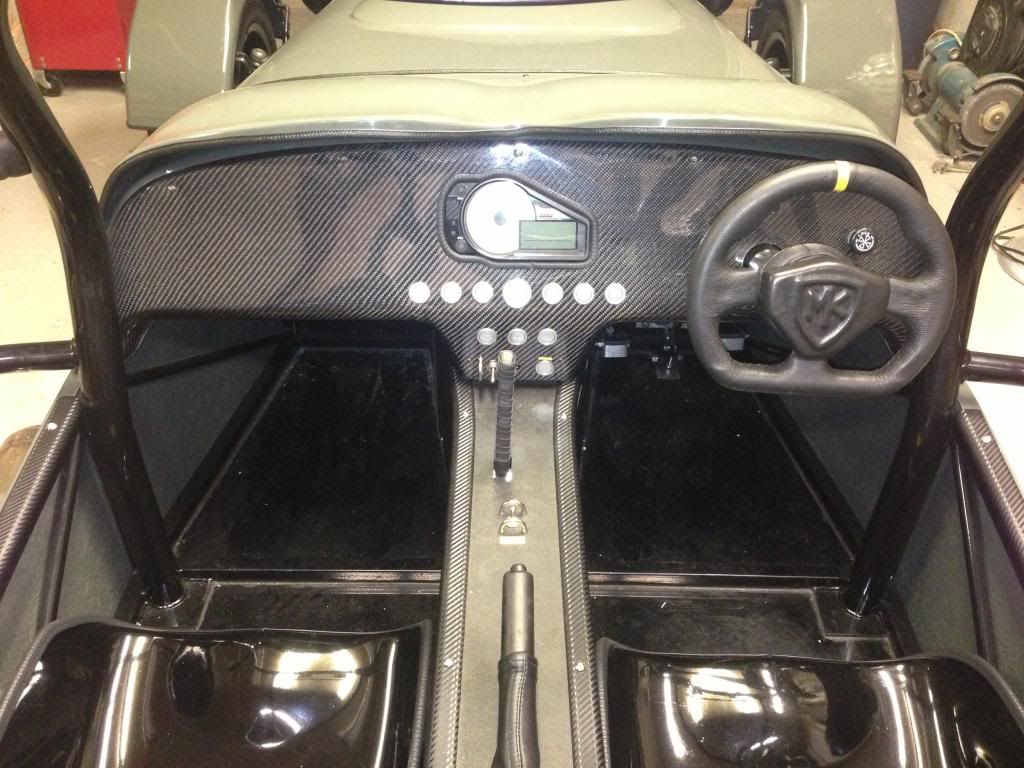
Tonight I fixed the number plates, rear with adhesive pads and the front with 2no. black rivets into the front of the nose cone.  Last job was to fix the tax disc holder - I decided to mount this between the seats.

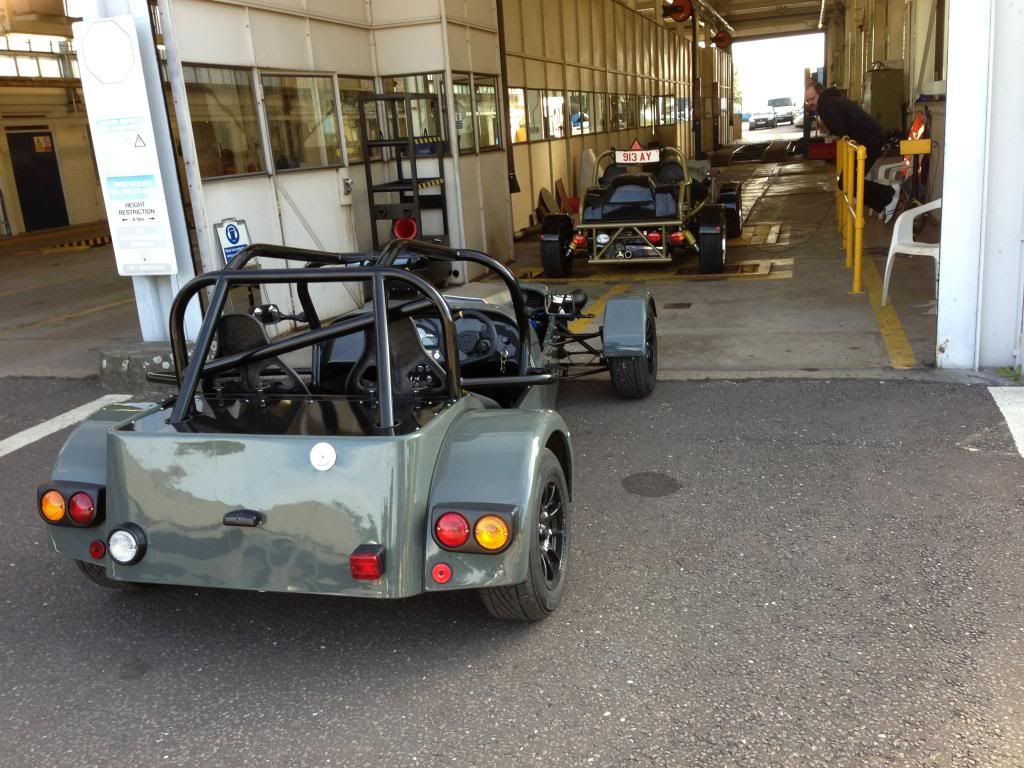
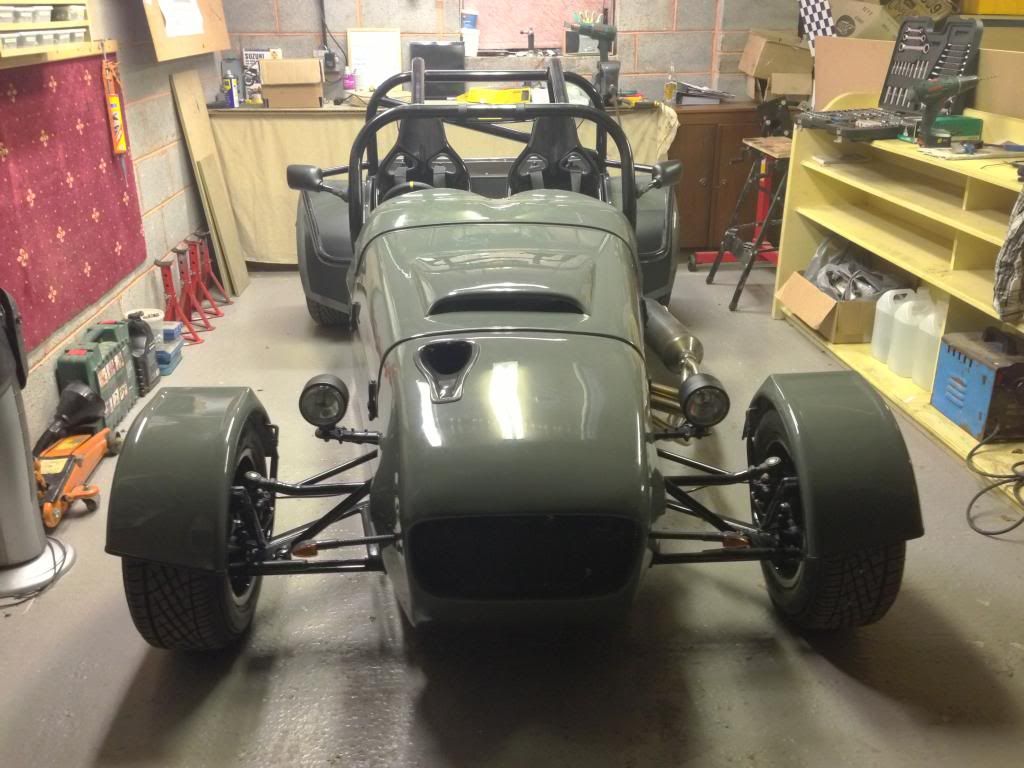
Looking forward to the first fully registered drive tomorrow (weather permitting!) !!  Its been 4 weeks since I was last in the car on the way back from the IVA.


Below is a time line of the application process for those who are interested.....


12/07/13 IVA paperwork sent to VOSA

15/07/13 Called back to take payment

20/08/13 Call from IVA test centre confirming test date as September 4th

04/09/13 IVA passed

12/09/13 Application sent to DVLA

25/09/13 Called DVLA - no trace of application - someone looking into it, will call within 48 hours

27/09/13 - No one called back so called DVLA again. Application is being processed. Got a call later in the day saying they need confirmation from MK chassis was new. 

02/10/13 Called DVLA again as MK had sent confirmation on 01/10/13. They told me tax disc should be with them tomorrow and would be sent out the same day. 

03/10/13 DVLA called to confirm tax disc was being posted first class today

04/10/13 Tax disc and registration number recieved.  Number plates bought and fixed to car.


Wednesday 4 September 2013

IVA Passed!!!

IVA test passed today, very happy indeed.  Decided to trailer the car up there as I didn't fancy 20 miles on the M1 for my first drive on the road.  Got up to Notitngham at about 7.45am so drove past the text centre and away from nottingham for 10 minutes where we found a quiet side street and unloaded the car from the trailer and then headed back to the test centre.  I used the 10 minute drive to bed the brakes in which seemed to be working well.

The test got under way with Martin checking front suspension and radius of everything.  The only issue was the mounting bracket on the silencer I borrowed from MK didn't meet the radius requirements.  He allowed me to file the edges at the end of the test.

He then disappeared around the back of the building for 10 minutes to weight the car and I assume to check mirrors, self centring etc.  The car weighed in at 480kg.

Next was the emissions.  First attempt it failed on hydrocarbons so he allowed me to connect the laptop and tweak the figures.  It was hit and miss as I hadn't got a clue which way to adjust them but on the 2nd attempt after changing a few of the blocks slightly it passed, much to my relief.

Next it was up on the ramp to check under the car - no issues to report here.  Martin was very complimentary on the quality of the build which was nice to hear!

Brakes next.  Again, no issues here.  Everything was well within the limits.

Final job was noise.  I drove outside for this and held the revs at 8000 rpm for a few seconds.  It came in at 94dB so again, well within the limits.

So, 3 hours and £450 later I get a certificate to say its passed the IVA.  Decided to drive the car all the way home which was awesome.  The motorway drive revealed the car has quite a lot of vibration at 60-70mph which I am not sure if it is a problem with the car or if that is just how the MK Indy is cruising at those speeds.  The country roads from the motorway were much more fun as I got the chance to test the acceleration.  This thing is quick and the clutchless shifting at 11krpm is amazing.  So much fun!

Now it's a case of applying for registration with the DVLA which I'm hoping isn't too painful a process.


Tuesday 3 September 2013

Upper ball joint covers

Today I spoke to the guys at the test centre about the covers for the upper ball joints and steering rack lock nuts.  They explained it something along the lines of.......

If your car goes to a garage for work to be done, the garage should be able to put the car back to how it was before they started work.  If you have to cut off heatshrink, remove tape etc then it wont go back on when the work is done.  Cable ties are acceptable for securing the covers but if the ties are removed, the covers shouldn't fall off, e.g. splitting some silicone coolant hose and cable tying it on isnt acceptable.

They recommended cable gland shrouds so I went to City Electrical Factors and picked up a pair of 40mm glands and 20mm glands.

I stripped down the front end and removed the top ball joints, taking care to mark the threads so I knew how far to put them back so as not to mess up the geometry.  I cut the 40mm gland shrouds as per the photo below and slid them on the top wishbone before putting the top ball joint back.   The shroud was secured in position with a cable tie.

This now allows the locking nut to be tightened and undone whenever and the shroud wont come off unless the ball joint is removed.

For the steering rack I did the same but with the 20mm shrouds.

Sunday 1 September 2013

Retro-reflectors = reverse motor cover

Not much left to do on the car now so today I installed the rear reflectors.  The type I bought have a hole in the centre so I fixed them below the rear light clusters with an M5 bolt, ensuring they were minimum 250mm form the floor and maximum 400mm from edge of vehicle.


I also removed my reverse motor cover as it got damaged going over a speed bump on my parents drive.  The cover did its job as the motor was not damaged.  For now I will straighten with a hammer and look to make one from steel after the IVA.


Saturday 31 August 2013

Secondary mushroom fixing


I had read some posts on Locostbuilders about a secondary fixing for the front upright mushrooms because the pinch bolt alone wasn't sufficient.  I removed the front wheels and drilled through the upright into the mushroom with a 5mm drill bit.  I then tapped the hole to take an M6 bolt.

I cut two M6 bolts to 13mm length, applied loctite and installed in the uprights.


Next job was the manufacturer's plate.  The sticker MK supplied back in November last year will apparently fail now due to having too much information.  The only information that is now required is manufacturer and chassis no.  I cut a square of aluminium, engraved the information and installed on the bulkhead with rivets.


Final job was to disable the steering wheel quick release as described previously. 

Tuesday 27 August 2013

Pre IVA photos

Took a load of photos of the car and uploaded to Locostbuilders forum in the hope of people pointing out things that I may have missed.

Got some good feedback which was nice with only a couple of issues raised.  These included....

exhaust clamp needs rotating due to sharp edge
Battery wires looking untidy (not an IVA issue, just aesthetic)
Headlight beam pattern


Monday 26 August 2013

Fully welding VIN plate

Another change in the latest IVA manual is that chassis VIN plates, if they are stamped on a piece of steel that is welded to the chassis, it needs fully seam welding - a stitch weld at either end like MK did as standard will now not be acceptable.

I removed the air box and then set up protection of the whole engine bay and all the GRP panels using aluminium and plasterboard, leaving only the chassis rail with the VIN plate exposed.  I used the dremel to remove powder coating on the edge and they started welding.  I managed to get it fully welded (with great difficulty) and then primed and painted gloss black.  The weld doesn't look the best but it should pass the IVA now.

Numbers blurred out!

Painted